最近在找一款中意的cms,看了看dedecms和米拓的cms。基于都开发的不错,只是在模板语法上。米拓的模板写法看的实在是头疼,虽然觉得seo还不多,但是觉得改动起来还是蛮麻烦的,就放弃了改用dedecms
看了dedecms的编辑器,觉得不好用,还是喜欢用百度的,那怎么把他替换过来呢ps:替换了可以导致文章分页用不了。自行解决
那我们进入正题,上思路,帖代码
第一步肯定就是下载百度ueditor的代码了,我们可以去官网下载最新版的,注意下载和你程序一样的编码格式。
官网:http://ueditor.baidu.com/website/download.html
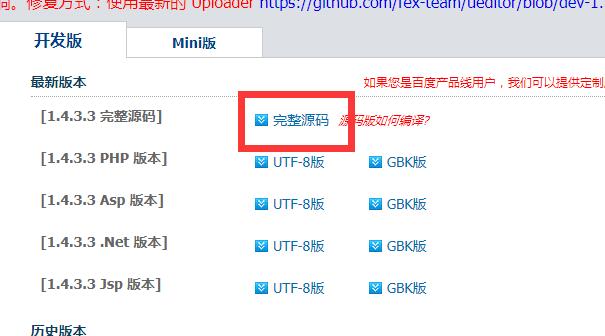
下载好了,解压文件
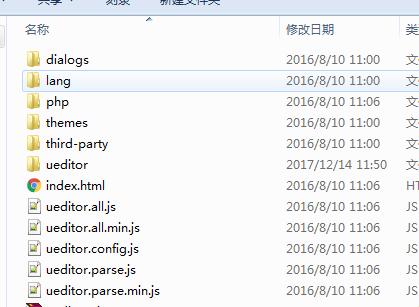
解压出来的文件如下,我们把里面的index.html删除
第二步dedecms 程序 include文件夹下,创建 ueditor 文件夹
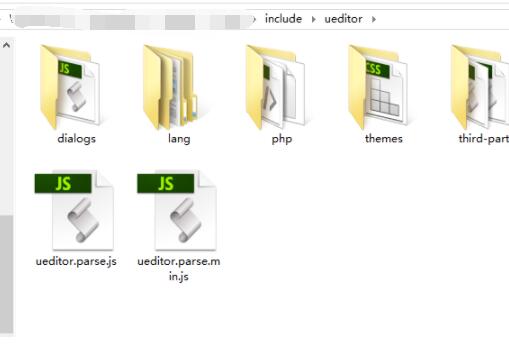
第三部 找到文件include\inc\inc_fun_funAdmin.php 增加ueditor编辑器(思路加个编辑器判断)
找到代码
else if($GLOBALS['cfg_html_editor']=='ckeditor'){
...中间代码省略
}//在这个分支的下面添加下面代码
else if($GLOBALS['cfg_html_editor']=='ueditor'){
	$fvalue = $fvalue=='' ? '<p></p>' : $fvalue;
	$code = '<script type="text/javascript" charset="utf-8" src="http://apps.bdimg.com/libs/jquery/1.6.4/jquery.min.js"></script><!--需要jquery解决多个百度编辑器同时使用-->';
	$code .= '<script type="text/javascript" charset="utf-8" src="'.$GLOBALS['cfg_cmspath'].'/include/ueditor/ueditor.config.js"></script>';
	$code .= '<script type="text/javascript" charset="utf-8" src="'.$GLOBALS['cfg_cmspath'].'/include/ueditor/ueditor.all.min.js"></script>';
	$code .= '<script type="text/javascript" charset="utf-8" src="'.$GLOBALS['cfg_cmspath'].'/include/ueditor/lang/zh-cn/zh-cn.js"></script>';
	$code .= '<link rel="stylesheet" type="text/css" href="'.$GLOBALS['cfg_cmspath'].'/include/ueditor/themes/default/css/ueditor.css"/>';
	$code .= '<script type="text/plain" name="'.$fname.'" id="'.$fname.'">'.$fvalue.'</script>';
	if($bbcode)
	{
		$code .= '<script type="text/javascript">jQuery.noConflict();jQuery(function(){var ue = UE.getEditor("'.$fname.'",{toolbars:[["Source","|",
	"bold", "italic", "underline","|","fontsize","forecolor","emotion","Undo", "Redo"]],initialFrameHeight:100});});</script>';
	}
	else
	{
		$code .= '<script type="text/javascript">jQuery.noConflict();jQuery(function(){var ue = UE.getEditor("'.$fname.'",{initialFrameHeight:450});});</script>';
	}

	if($gtype=="print")
	{
		echo $code;
	}
	else
	{
		return $code;
	}}
第4步 修改ueditor上传文件的路径
打开 include\ueditor\php\config.json
里面的
/ueditor/php/upload/image/
/ueditor/php/upload/video/
/ueditor/php/upload/file/
修改成自己路径,如:
/uploads/allimg/
/uploads/video/
/uploads/file/
最后一步 后台-系统-核心设置-Html编辑器,里面填上ueditor
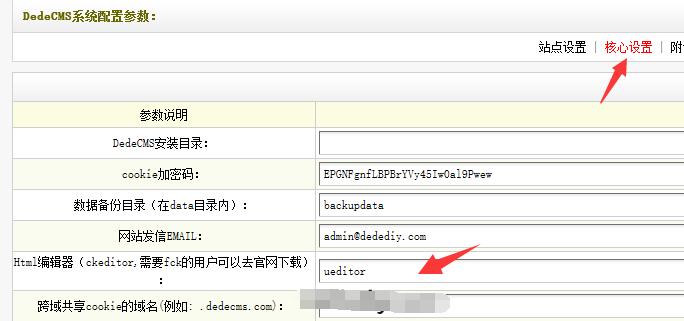
完成
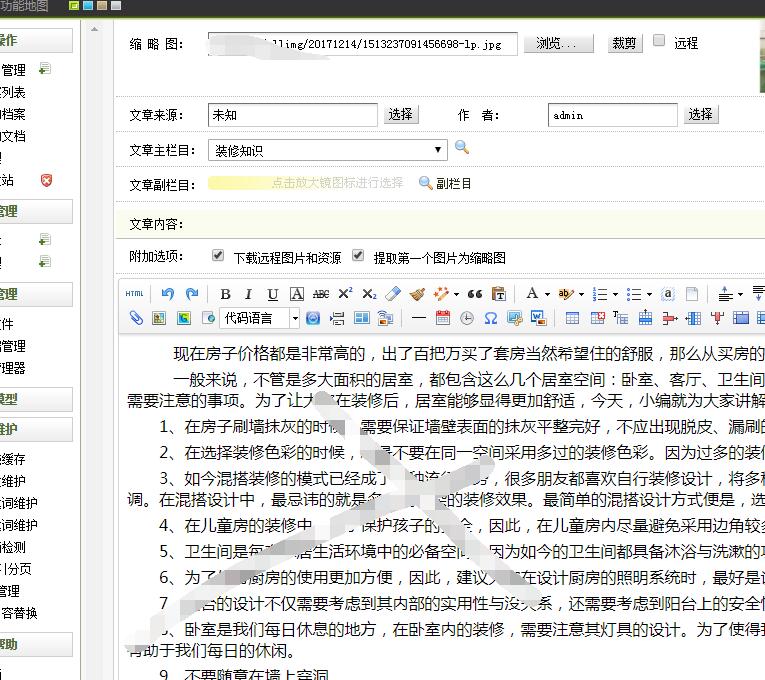
PS:怎么把图片加水印的功能也加上呢
打开 \include\ueditor\php\action_upload.php 找到
include "Uploader.class.php";
添加下面2行代码
require_once("../../common.inc.php");
require_once("../../image.func.php");
再打开 \include\ueditor\php\Uploader.class.php 找到
$this->stateInfo = $this->stateMap[0]; //大概在124行左右
@WaterImg($this->filePath, 'down');
这样上传本地图片和批量上传图片就自动加水印了。


 辽公网安备:42900402000182号